Introduction
Traditional production tooling,jigs, fixtures, and molds,often comes with long lead times and high upfront costs, especially when you need short runs or custom parts. Waiting weeks for a machined aluminum fixture can stall an entire production line, and the expense of steel molds makes low-volume injection molding uneconomical. Additive manufacturing, or industrial 3D printing, changes that equation entirely. By building tools layer by layer directly from a digital file, you can go from design to functional tooling in days, not weeks, at a fraction of the cost for small batches.
In this guide, you’ll learn what 3D printed production tooling is, the key benefits it offers, specific applications backed by real-world case studies, the materials best suited for different conditions, design principles to maximize durability, and a practical cost comparison with traditional methods. Whether you’re a manufacturing engineer evaluating a new process or a production manager looking to cut downtime, you’ll walk away with actionable insights to decide if additive tooling is right for your facility.
What Is 3D Printed Production Tooling?
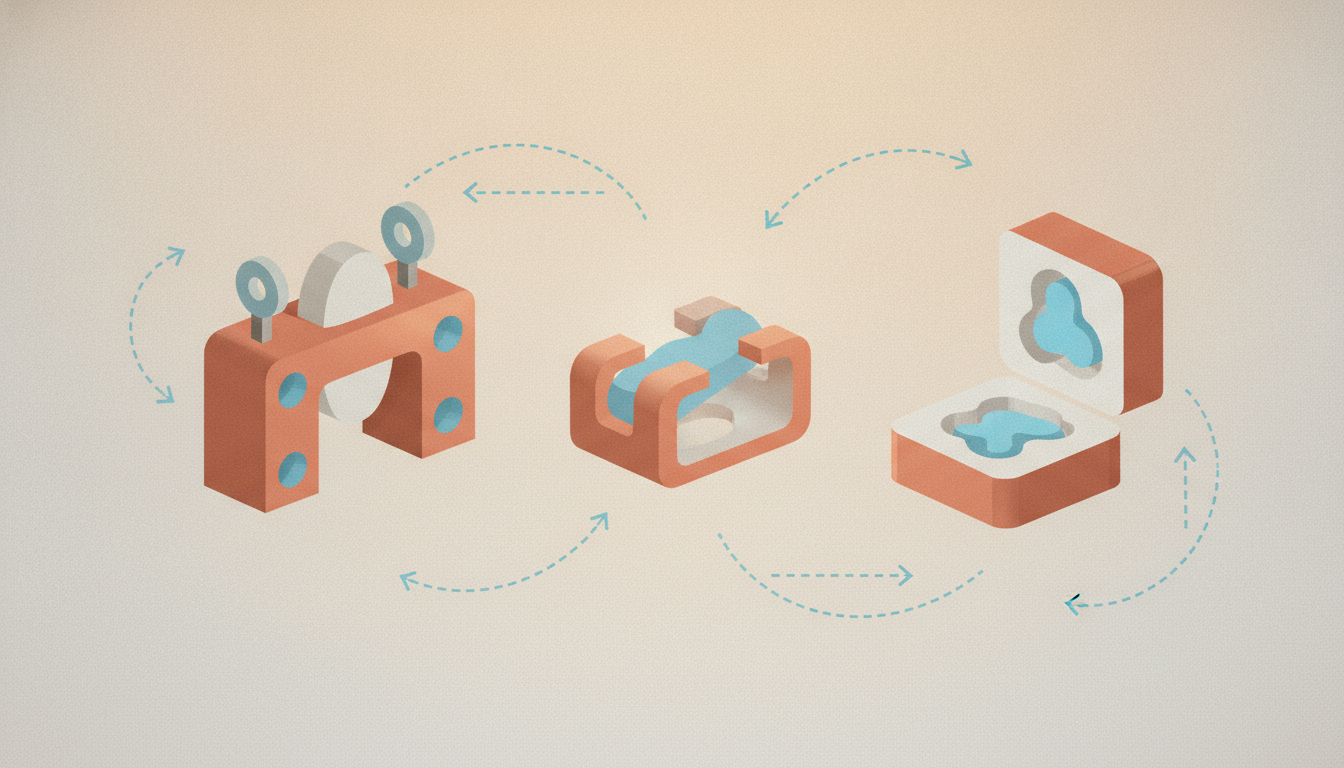
3D printed production tooling refers to jigs, fixtures, molds, and other manufacturing aids that are produced using additive manufacturing technologies and used directly on the production floor – not just for prototyping. Unlike prototype tooling, which may only need to survive a few test cycles, production tooling must withstand repeated use, mechanical loads, abrasive environments, and sometimes high temperatures.
Key Technologies for Production Tooling
The most common technologies for this application are FDM (Fused Deposition Modeling) and SLS (Selective Laser Sintering). FDM uses thermoplastic filaments like ABS, PETG, or nylon to build tough, durable parts suitable for assembly jigs and fixtures. SLS uses nylon powder to create strong, isotropic parts with good chemical resistance, ideal for complex geometries. SLA (Stereolithography) is less common for heavy-duty jigs but excels in high-detail molds for short-run casting or thermoforming, where surface finish matters most. Material jetting (e.g., PolyJet) can also be used for multi-material or color-coded fixtures.
Differences from Traditional Tooling
Traditional tooling relies on subtractive methods like CNC machining, injection molding, or casting. A machined aluminum jig requires raw material, CAM programming, fixturing, and multiple setups. That process takes weeks and costs hundreds to thousands of dollars per tool. 3D printed tooling can be designed in CAD, sliced, and printed in hours or days. If you need a design change, you simply modify the digital file and print again,no retooling, no new molds. This makes it ideal for iterative design, custom one-off fixtures, and low-volume production where amortizing a steel mold over thousands of parts doesn’t make sense.
Examples include:
- Assembly jigs that align parts for welding or gluing.
- Inspection fixtures with custom datums for quality control.
- Injection mold inserts with conformal cooling channels.
- Thermoforming molds for short prototype runs.
- Robot end-of-arm tooling (grippers, suction cups) that are lightweight and easily replaced.
Key Benefits of Using 3D Printed Jigs, Fixtures, and Molds
Adopting additive manufacturing for production tooling delivers measurable improvements in speed, cost, and design flexibility.
Lead Time Reduction
Traditional CNC machined jigs can take 2–6 weeks depending on complexity and shop workload. With 3D printing, you can have a functional tool in hand within 24–48 hours. Case studies show up to 90% reduction in tooling lead time compared to CNC machining. For example, Ford Motor Company uses 3D printed assembly jigs on their production lines, reporting a lead time reduction from weeks to days. That speed translates into faster product launches, quicker line changeovers, and less downtime waiting for tools.
Cost Savings for Low-Volume Production
3D printed tooling is economical for production runs under about 10,000 parts. The break-even point depends on part size, material, and complexity, but the general rule is: the lower the volume, the bigger the cost advantage. For a one-off inspection fixture, 3D printing eliminates the need for costly CNC programming and setup. For short-run injection molding (e.g., 500–5000 parts), a 3D printed mold insert can cost 80% less than a steel or aluminum insert. Beyond 10,000 parts, traditional tooling often wins on per-part cost, but 3D printing still adds value for iterative design or custom variations.
Design Freedom and Complex Geometries
Additive manufacturing unlocks geometries that are impossible or prohibitively expensive with subtractive methods. Conformal cooling channels in injection molds are a prime example. Instead of drilling straight cooling lines, you can design channels that follow the contour of the mold cavity, reducing cycle time by 20–40% and improving part quality by eliminating hot spots. Lightweight structures like honeycomb infill reduce material use and make fixtures easier to handle. You can also integrate features like snap-fits, locating pins, and ergonomic handles directly into the design.
On-Demand Manufacturing
With 3D printing, you don’t need to stockpile spare jigs. If a fixture wears out or breaks, you simply reprint it from the digital file. This eliminates inventory and storage costs. For facilities with multiple shifts or identical workstation layouts, you can print a set of identical fixtures and replace them as needed without tooling lead times.
Improved Ergonomics and Worker Efficiency
Custom-fit fixtures can be designed to match the operator’s natural hand position, reducing fatigue and improving accuracy. For example, a 3D printed assembly jig can incorporate soft-touch grips or angled surfaces that align parts faster. Workers report fewer errors and faster cycle times when tools are ergonomically optimized.
Common Applications and Real-World Examples
Additive manufacturing for jigs, fixtures, and molds is already deployed across automotive, aerospace, consumer goods, and medical device manufacturing.
Assembly Jigs in Automotive
Ford provides a well-documented case. They use 3D printed assembly jigs for tasks like aligning brake lines, placing grommets, and holding parts for welding. Ford reported cost reductions of up to 70% and lead time savings of weeks per jig. Instead of machining a metal fixture for each vehicle variant, they print custom jigs tailored to each model. The jigs are light enough to be moved easily and can be redesigned overnight when a part changes.
Conformal Cooling in Injection Molds
Injection mold inserts with conformal cooling are one of the highest-value applications. Traditional straight cooling lines often leave hot spots that cause warpage and lengthen cycle times. By 3D printing the insert (from tool steel via DMLS or from a high-temp polymer like Ultem), you can embed channels that perfectly trace the part geometry. A manufacturer of medical device components reported cycle time reductions from 35 seconds to 22 seconds,a 37% improvement,after switching to a 3D printed insert with conformal cooling. Part quality also improved, with fewer rejects due to sink marks.
Inspection Fixtures in Aerospace
Aerospace manufacturers require precise inspection fixtures for quality control of complex geometries like turbine blades or airframe brackets. 3D printing allows them to create fixtures with integrated gauging pins, alignment slots, and even color-coded indicators in a single build. Because fixtures can be printed overnight, they can be iterated quickly as part designs evolve. One aerospace supplier reduced fixture fabrication time from 3 weeks to 2 days, with cost savings of 60% per fixture.
Robot End-of-Arm Tooling
Robotic grippers and tool changers benefit from the lightweight nature of 3D printing. A heavy steel gripper slows robot acceleration; a printed nylon or carbon fiber gripper can be 70% lighter while maintaining sufficient strength. Custom-designed grippers that conform to the exact shape of the part improve grip reliability and reduce cycle time. Robot end-of-arm tooling is often printed as a single piece, eliminating assembly steps.
Materials Used for 3D Printed Production Tooling
Choosing the right material is critical to tool longevity and performance. Consider mechanical load, operating temperature, chemical exposure, and required surface finish.
Choosing the Right Material
Here’s a quick guide based on common use cases:
- Light-duty jigs (low force, room temperature): PLA or PETG. PLA is cheap but brittle; PETG offers better impact resistance.
- Medium-duty fixtures (moderate force, occasional contact with solvents): Nylon (SLS or FDM) or ABS. Nylon provides excellent toughness and chemical resistance.
- High-strength structural fixtures: Carbon fiber-filled filaments (e.g., PA-CF, PETG-CF) offer stiffness comparable to aluminum. SLS with glass-filled nylon is another option.
- High-temperature molds (e.g., for thermoforming or low-pressure injection): Ultem (PEI) or PEEK can withstand continuous use above 150°C. For metal molds, DMLS (Direct Metal Laser Sintering) produces tool steel inserts.
- High-detail molds (smooth finish, fine features): SLA resins like Accura or Somos – excellent for short-run casting patterns.
Material Comparison Table
| Material | Tensile Strength (MPa) | Max Service Temp (°C) | Chemical Resistance | Typical Cost (per kg) | Best For |
|---|---|---|---|---|---|
| PLA | 50–60 | 55–60 | Poor | $20–30 | Low-load, short-term jigs |
| PETG | 50–55 | 75–80 | Good | $30–40 | Functional jigs, moderate strength |
| Nylon 12 (SLS) | 45–48 | 175 (HDT) | Excellent | $80–120 | Durable fixtures, chemical exposure |
| ABS | 35–40 | 85–95 | Fair | $25–35 | Impact-resistant fixtures |
| Carbon fiber PA | 80–100 | 150–160 | Good | $60–80 | High stiffness, load-bearing |
| Ultem 1010 | 50–60 | 216 | Excellent | $200–300 | High-temp molds, brackets |
| Tool Steel (DMLS) | 800–1200 | >600 | Excellent | $800–1500 | Injection mold inserts |
Note: Costs are approximate and vary by printer and supplier. SLS and metal 3D printing typically require professional service bureaus.
Design Considerations for 3D Printed Tooling
Designing for additive manufacturing requires a shift in mindset from traditional machining. A few key principles will help you get strong, functional tools.
Overcoming Layer Anisotropy
FDM parts are inherently weaker in the z-direction (between layers) because layer adhesion is not as strong as the material within a layer. To maximize strength, orient the part so that the primary load direction is perpendicular to the layer lines. For example, if a jig must hold a part under vertical compression, print it upright so that layers stack in the load path, or rotate it 90 degrees so layers run vertically. Additionally, annealing some materials (like PLA or nylon filaments) after printing can improve interlayer adhesion and overall strength. For critical fixtures, consider using SLS (which has more isotropic properties) or metal printing.
Integrating Metal Components
3D printed plastic jigs are great, but wear points like locating pins, threaded holes, or high-friction surfaces benefit from metal inserts. Add brass threaded inserts by designing a slot or hole that fits a standard insert, then melt it into the plastic with a soldering iron. For locating pins or dowels, print a hole and press-fit a steel pin. This combination gives you a lightweight plastic body with the long-wear durability of metal exactly where you need it.
Wall Thickness and Infill
Minimum wall thickness should be at least 0.8–1 mm for FDM, and 0.5 mm for SLS. For structural parts, use 4–6 perimeters and an infill of 50–80% – honeycomb or gyroid infill patterns offer a good strength-to-weight ratio. Increasing infill beyond 80% has diminishing returns; it’s often better to add ribs or gussets.
Tolerances and Post-Processing
Typical as-printed tolerances for FDM are ±0.2 mm; for SLS, ±0.1 mm; for metal DMLS, ±0.05 mm. If you need tighter fits, machine critical surfaces after printing – for example, drilling a hole to exactly 5.0 mm. Sanding, vapor smoothing (for ABS), or acetone dipping can improve surface finish for molds that require draft angles.
Design for Assembly
Design modular tooling that allows you to replace only the worn section. For instance, a fixture base can be printed in durable nylon, while the locating inserts can be separate pieces that snap-fit or bolt onto the base. This reduces cost and waste when only one area wears out.
How to Get Started with 3D Printed Tooling in Your Facility
Implementing additive tooling doesn’t require a full factory overhaul. Start small and scale based on results.
Choosing Between In-House and Outsourcing
In-house works best if you need frequent iterations, have quick turnaround needs, and can manage a small printer. A mid-range FDM printer ($3,000–$10,000) can handle 90% of jig and fixture needs. Outsourcing is better for specialized materials (nylon, metal, Ultem), very large parts, or when you only need a few tools per year. Service bureaus like ManufactureNow partners can print and ship tools within 2–3 days.
Quick wins to start:
- Identify a repetitive task where a jig would reduce setup time – e.g., aligning a weld, checking a critical dimension, or holding a part for drilling.
- Design a simple jig in CAD (or download a pre-made design from repositories like Thingiverse or Cults3D).
- Print the jig in PETG or ABS. Test it on the floor, get operator feedback.
- Iterate – modify the design, reprint, and compare cycle times.
- Track metrics – note reduction in assembly time, error rates, or scrap. Use that data to justify scaling.
Common mistakes to avoid:
- Printing too thin – walls under 1 mm break quickly.
- Ignoring layer orientation – a bracket printed flat may snap if load is perpendicular to layers.
- Overlooking thermal expansion – for heated molds, the tool material must withstand the process temperature.
- Not adding a draft angle – for molds, a 1–2 degree draft helps part ejection.
Cost Comparison: Traditional vs. Additive Tooling
Understanding the break-even point helps decide when 3D printing is cost-effective.
Example Cost Table
Consider a typical aluminum assembly jig sized 200 x 150 x 100 mm with a few locating pins and a C-clamp mount. We’ll compare CNC machining (aluminum 6061) vs. 3D printing (PETG) for three volumes: 1 unit, 10 units, and 100 units. Assumptions: CNC setup fee $200, machining rate $75/hr, material $50/kg; 3D printer cost $10/hr (including depreciation), filament $30/kg, no setup time.
| Production Volume | Traditional CNC (Aluminum) | 3D Printed PETG |
|---|---|---|
| 1 unit | $350 (setup + 3 hrs machining) | $15 (1.5 hrs print + $2 material) |
| 10 units | $2,300 (setup $200 + $2100 machining) | $150 (10 prints) |
| 100 units | $21,200 ($200 + $21,000) | $1,500 (100 prints) |
Notes: Traditional tooling benefits from volume because setup is amortized, but 3D printing has no setup cost. Even at 100 units, 3D printing is cheaper if you only need jigs for short runs. However, if the jig will be used for years and see heavy wear, aluminum’s durability may justify the cost. Total cost of ownership includes storage and replacement: 3D printed jigs can be stored as digital files, saving physical floor space and eliminating inventory carrying costs.
For molds, the comparison is more dramatic. A steel injection mold insert can cost $5,000–$15,000 and take 8 weeks. A 3D printed metal (DMLS) insert costs $500–$2,000 and takes 2–3 days. For low-volume production (<10,000 parts), the additive insert pays for itself many times over. Beyond that, steel molds yield lower per-part cost.
Frequently Asked Questions
1. Can 3D printed tooling handle high-temperature environments?
Yes, but you must choose the right material. For continuous use above 150°C, choose Ultem (PEI) or PEEK. For intermittent exposure to higher heat, carbon fiber-filled nylon or ABS/PC blends can work. Metal 3D printing (e.g., tool steel) handles mold temperatures up to 600°C. Always verify the material data sheet for HDT (heat deflection temperature) before committing.
2. How long do 3D printed jigs and fixtures last?
It depends on material and use. A PETG jig used for light assembly may last months to a year. An SLS nylon fixture under moderate force can last years if not abused. For high-wear applications, design in replaceable metal inserts or plan to reprint every 6–12 months. Some facilities print two copies of a critical tool so they have a spare ready.
3. What is the maximum size for 3D printed tooling?
For FDM, typical build volumes range from 200 x 200 x 200 mm to 500 x 500 x 500 mm on desktop machines. Industrial printers like the BigRep or Modix can go up to 1 meter. SLS machines usually max out around 300 x 300 x 300 mm. For larger tools, you can print in sections and bond them together (using adhesives or mechanical fasteners) or outsource to a service bureau with large-format printers.
4. Is 3D printed tooling cost-effective for large production runs?
For runs exceeding 10,000 parts, traditional tooling (machined aluminum or steel) is usually more cost-effective per unit because the tool cost is spread over many parts. However, 3D printing still adds value for custom jigs needed for short runs, for iterative design phases, or for ergonomic improvements that justify slightly higher per-tool cost.
5. How accurate are 3D printed production tools?
As-printed accuracy ranges from ±0.1 mm (SLS) to ±0.3 mm (FDM). For jigs and fixtures, this is often sufficient because the tool is used to align parts that have their own tolerances. If you need tighter precision (e.g., ±0.05 mm), you can print the tool slightly oversized and machine critical surfaces afterward. Many users find that as-printed tolerances are adequate for 90% of applications.
Conclusion
3D printed production tooling is not a futuristic concept – it’s a proven, accessible method to cut lead times, reduce costs for low volumes, and unlock design flexibility that traditional machining cannot match. From assembly jigs that cost 70% less than machined aluminum, to injection mold inserts that cool 40% faster, additive manufacturing is already saving time and money across industries.
Key takeaway: 3D printed production tooling delivers faster turnaround, lower costs for small volumes, and design flexibility that traditional methods cannot match. The best part? You don’t need a massive investment to start. A single desktop printer can begin tackling your biggest production bottlenecks tomorrow.
Ready to see how 3D printed tooling can streamline your production? Contact our team for a custom assessment or explore our related guides on additive manufacturing. Whether you’re looking for material selection advice, design guidelines, or a partner to print your first jig, we’re here to help you make better decisions in modern manufacturing.
Written with LLaMaRush ❤️